In the Merchant Center's "Settings - Configuration - Checkout Configuration" page, you can set payment methods, payment templates, and other payment-related options.

Merchant Center Checkout Configuration Page
Payment Methods
First, check the payment methods you want to display to users, then click Save.
Payment Template
Currently two payment styles are available. You can freely choose and switch between them. Remember to click Save after selection.
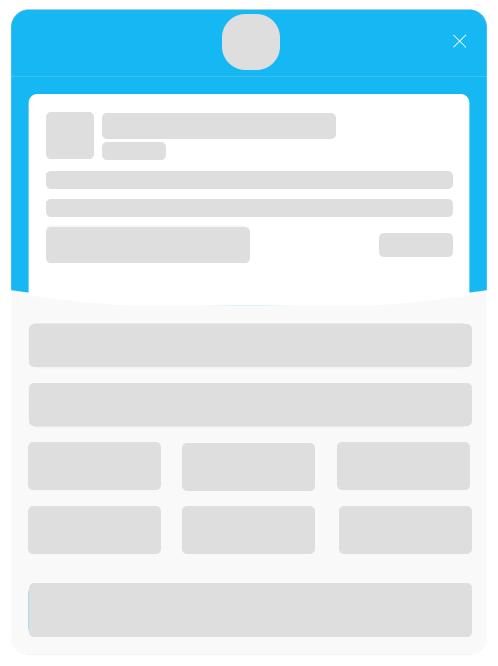
Template One (Vertical)
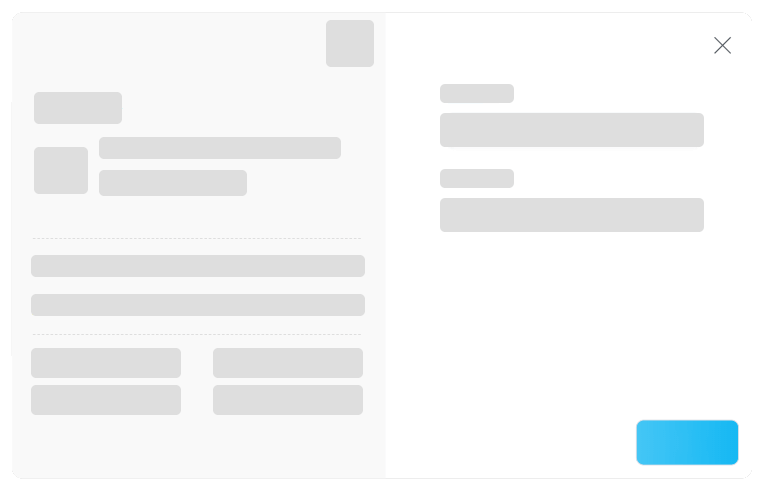
Template Two (Horizontal)
Other Settings
| Configuration | Description |
|---|---|
| Auto Cancel | Order auto-cancel time. Default is 10 minutes - orders not paid within this time will be automatically cancelled |
| Background Image | Used for the page background when clicking "Pay Now" from email for unpaid orders. Recommended size 1920×1080px, under 50KB, supports webp and svg formats |
Integration Code
Checkout Configuration - View Example
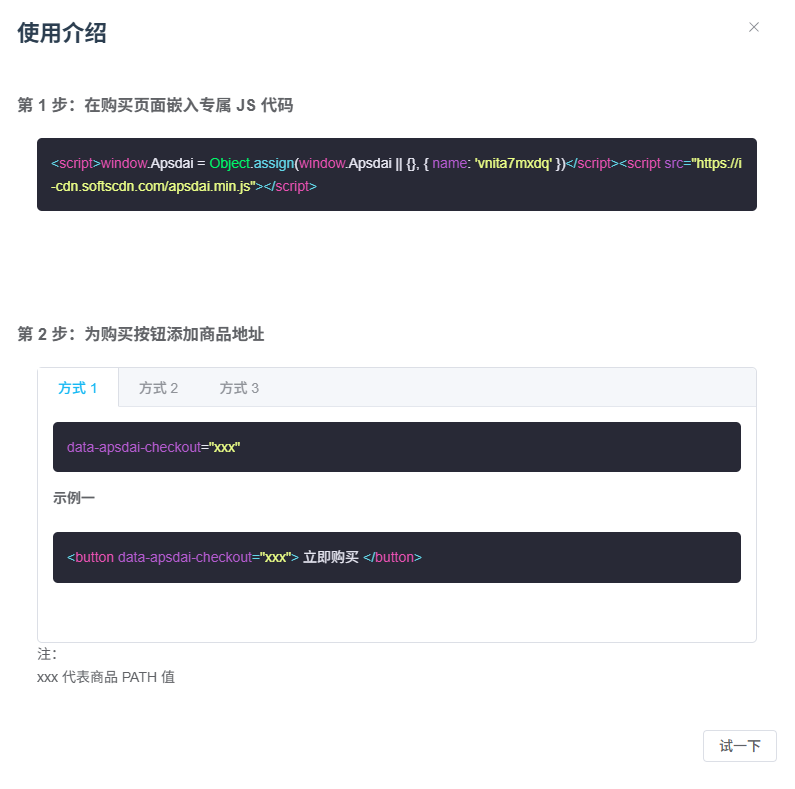
Step 1: Embed JS Code
Embed the exclusive JS code on your purchase page:
HTML
<script>window.Apsdai = Object.assign(window.Apsdai || {}, { name: 'vnita7mxdq' })</script>
<script src="https://i-cdn.softscdn.com/apsdai.min.js"></script>
Step 2: Add Purchase Button
Add product address to the purchase button. Three methods are supported:
Method 1: data Attribute
HTML
<button data-apsdai-checkout="xxx">Buy Now</button>
Method 2: Anchor Link
HTML
<a href="#apsdai-xxx">Buy Now</a>
Method 3: Protocol Link
HTML
<a href="//apsdai#xxx">Buy Now</a>
Note
The
xxx in the above code represents the product's PATH value. Please replace it with your actual product PATH.